

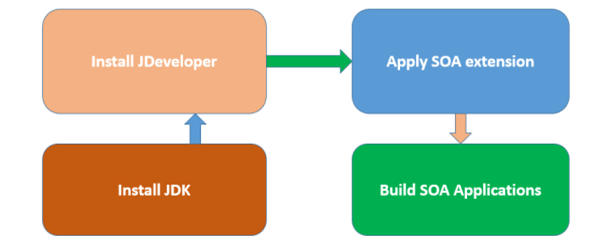
As shown in above figure preparation of SOA JDev11g involves three sequential steps. First install JDK which is a prerequisite for JDeveloper installation. On top of JDeveloper you need to apply SOA extension patch.
JDK Installation: JDK installation is discussed in post Install JDK. By just following this post you would be able to install JDK1.7
JDeveloper Installation: Jdeveloper installation is dicssed in post Install Oracle JDeveloper (11g). You would be able to install JDeveloper 11.1.1.6 by following this post.
SOA-Extension Installation:
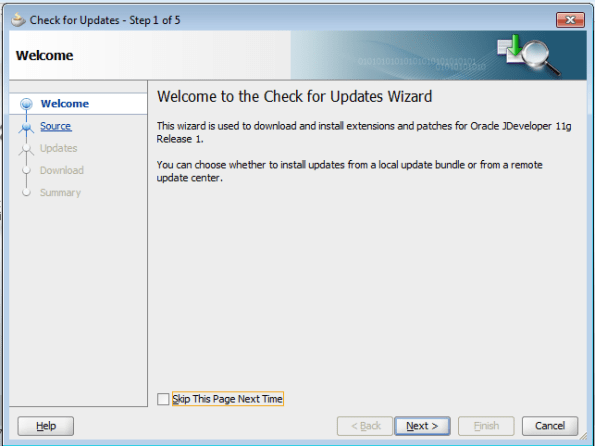
Open JDeveloper. To open JDeveloper, navigate to {middleware home folder}\jdeveloper\ and jdeveloper.exe. This will open up the JDeveloper tool. This will ask you to select Role. Just accept the defautl value and click Ok. On JDeveloper Help menu and then select Check for Updates.

Click Next on the Welcome page.
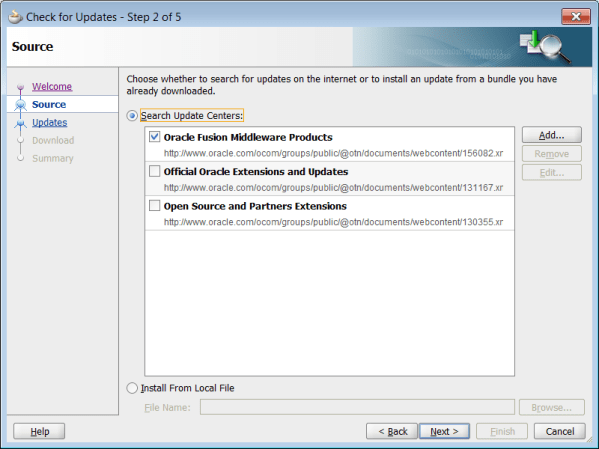
On Step2, select Oracle Fusion Middleware Products check box, and click Next.
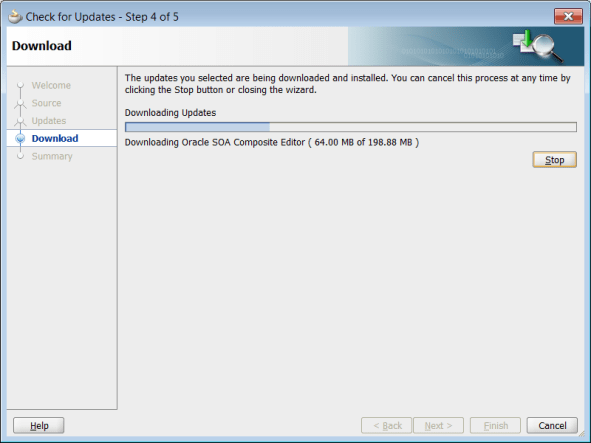
Select Oracle SOA Composite Editor, and click Next.
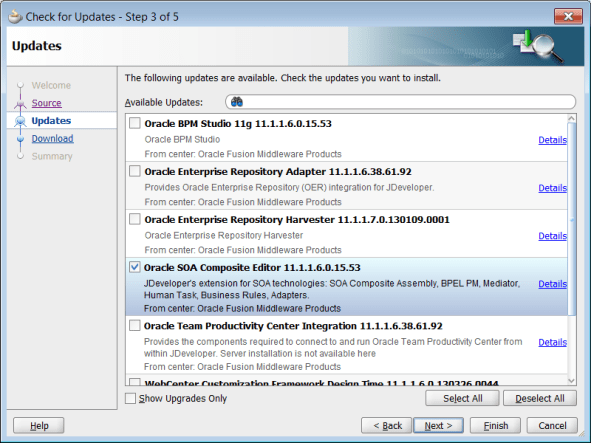
This will download the soa extension and install.
After successful installation click on Finish button. This will prompt for restarting JDeveloper. You can restart the JDeveloper.

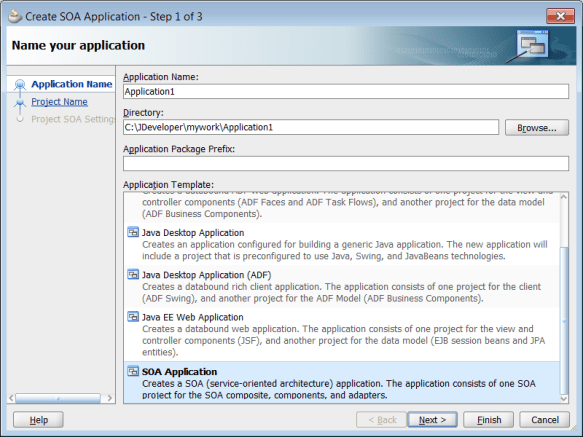
Now open up the JDeveloper and try to create a new application. While creating new application, if you see SOA Application in Application Templates, that implies that the SOA JDeveloper setup is successful.
That’s it, you can start building SOA applications and projects.