JDK (Java development kit) is needed to develop application using JAVA technolgoy. Intallation of JDK is pretty simple process. It involves downloading JDK installable from oracle downloads and start the installation process. In this post I am considering JDK 1.7, but you need to install the version depending on the requirement. For working with SOA 11g you need to install 1.7, though there is a higher version available.
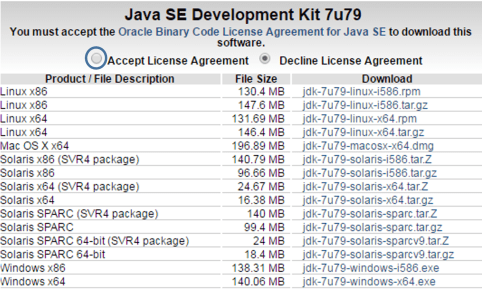
Download URL: http://www.oracle.com/technetwork/java/javase/downloads/jdk7-downloads-1880260.html
Accept the license agreement and download the version compatible with the OS that you have.
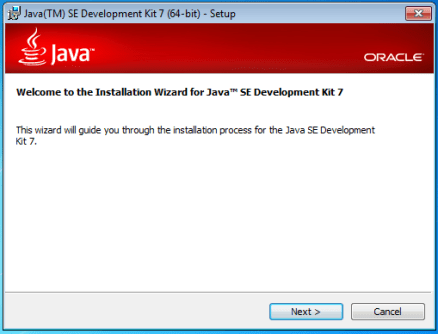
To install JDK, double click on the executable file jdk-7-windows-x64.exe file. Click Yes on the User Account Control popup. This will open a popup that takes you through installation steps. Click Next on the welcome page
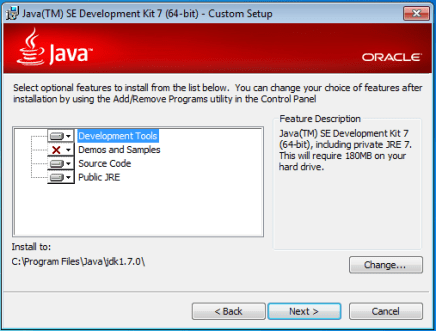
On the second page, where you see JDK install options, you can optionally change the JDK install path and click Next.
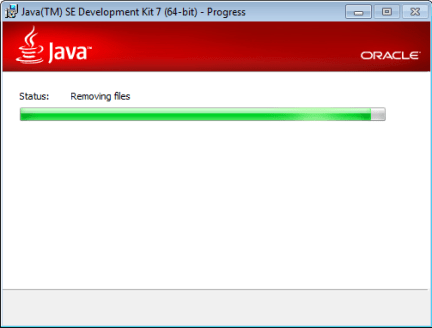
Clicking Next on the previous page, start installation of JDK.
In the next step, optionally you can change the JRE install location and click Next.
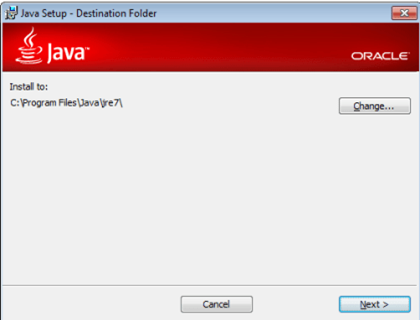
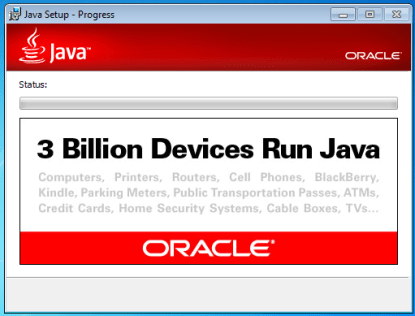
JRE installation starts and you can see the progress bar.
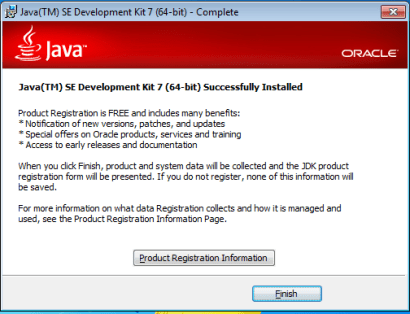
After successful installation you can see a confirmation message. Click On Finish.
You should see JDK and JRE in the path that you have installed.

Now you have JDK installed successfully.


Pingback: How to Install Oracle JDeveloper (11g) | Clarity Consulting
Pingback: Install SOA JDeveloper (11g) | Clarity Consulting
This is great!