Create a new SOA project that accepts a name as an input parameter and generates a wish as an output.
For example
-
Input username is Ravi
-
Output is Hello Ravi
SOA web service implementation:
Step 1: Create a mew SOA project with name HelloWorld
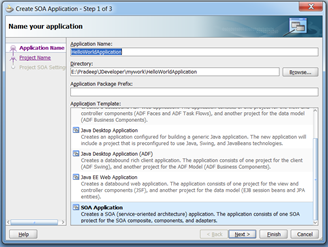
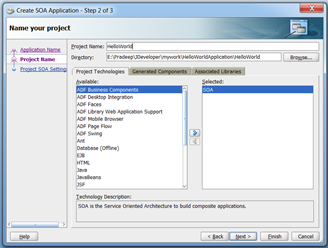
Click on new application and write down the application name as HelloWorldApplication. select SOA application and click on next.
-
Write down the project name as HelloWorld and click next.
-
Composite name leave default.
-
Composite template as empty composite and click finish
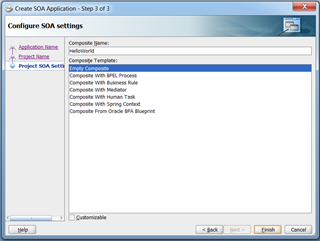
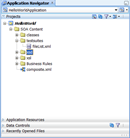
Note : With the above steps a SOA project is created with required folder a file called composite.xml
In composite.xml we can configure three types of components
-
service component
-
component called components
-
reference components
Step 2: Create request and response XSDs
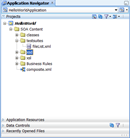
To create request XSD Right click on XSD folder and select new.
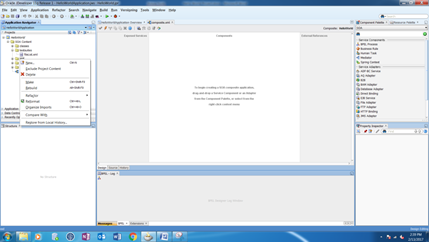
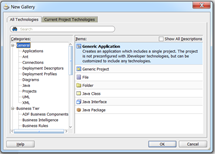
Select all technologies tab on the popup and select general option under categories.
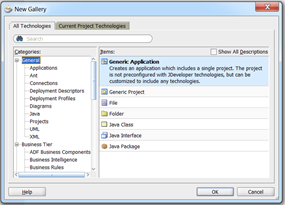
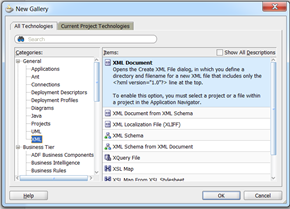
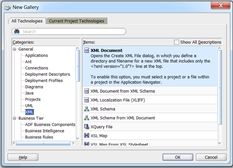
Click on XML under general category and XML Schema in Items and click ok.
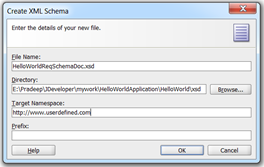
Put file name as user defined in the popup. For example HelloWorldReqSchemaDoc.xsd etc..
Target name space as also user defined and click ok.
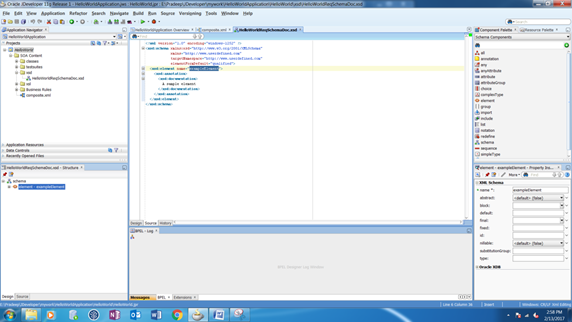
Open XSD in source view and change the “<xsd:element name=”exampleElement”>” as “<xsd:element name=”UserName”>”
To create response XSD right click on the xsd file and follow the above steps again

Select all technologies tab on the popup and select general option under categories.
Click on XML under general category and XML Schema in Items and click ok.
Put file name as user defined in the popup. For example HelloWorldRespSchemaDoc.xsd etc..
Target name space as also user defined and click ok.

Step 3: Click on compsite.xml tab.
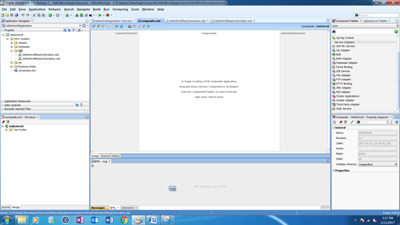
Drag and drop webservice component from component palette to exposed service panel in composite.xml

Fill below details in webservice popup file.
File name: user defined keyword as WSDL document name.
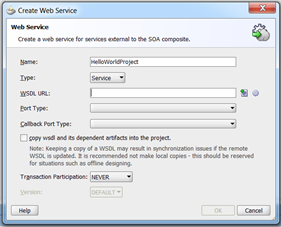
Click on  this icon from WSDL URL option and fill the below details in the popup.
Name space: Provide user defined string as target namespace of current WSDL.
Port type : user defined keyword for example HelloWorldPortType etc…
Operation: User defined keyword.
Interface type: synchronous interface
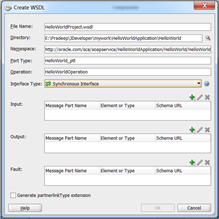
Click on the  icon in the input and enter part name as user defined. after click on
  icon and select Username in RequestSchemaDoc.xsd from project schema files and click ok.

Click on the  icon in the output and enter part name as user defined. after click on
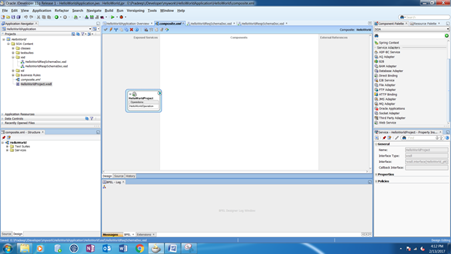
  icon and select Wish in ResponseSchemaDoc.xsd from project schema files and click ok on all popups.then it will show like this.
Step 4 : Configuring BPEL process component with “defineservicelater” template.BPEL is a programming launguage that can be used to create a webservice like java.
Drag and drop BPEL process into components panel in composite.xml. In create BPEL process wizard select BPEL 1.1 specification. and remaining details as mentioned below.
Name : User defined keyword as BPEL component name for example “HelloWorldBPEL”
Namespace : Target namespace of the BPEL or User defined.
Template : select define service later.
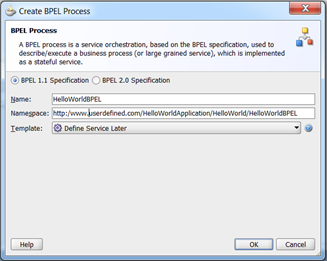
With above configuration two new files will be created in composite.xml
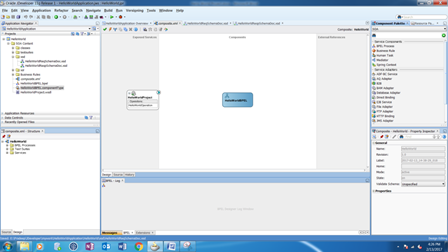
In BPEL file we have to configure business logic by using collection of activities.
Component type file contains biding information of BPEL component. It means what all are other components connected to BPEL.
Step 5 : Create a wire between service component and BPEL component
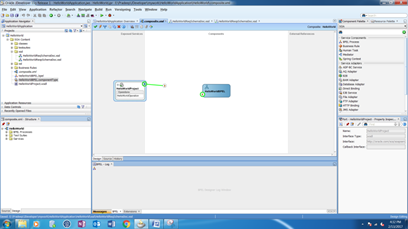
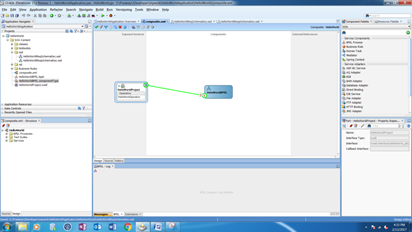
Configure transaction as required

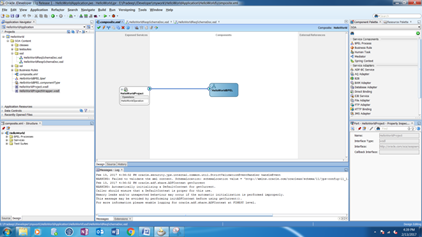
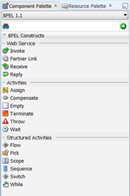
Step 6 : Double click on BPEL file and drag and drop recieve activity from BPEL constructs.
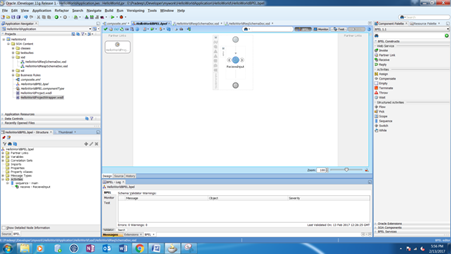
Create binding between recieve activity and service partner link.


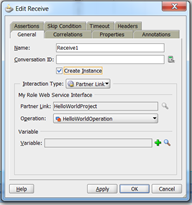
Click  icon from variables in the popup and click ok.

Click ok on below popup also.
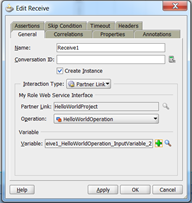
Step 8 : Drag and drop reply activity after recieve activity from BPEL constructs.

Create a binding between reply and service partner and follow the steps as recieve activity.
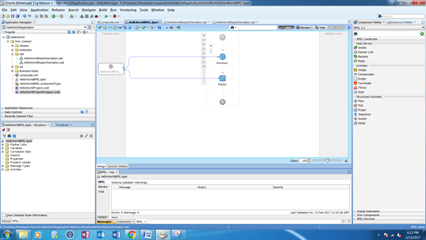
Step 9 : Drag and drop assign activity between recieve and reply.
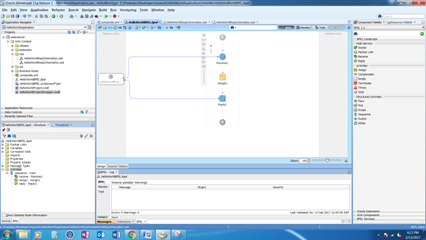
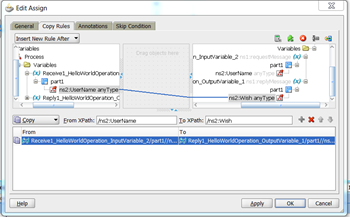
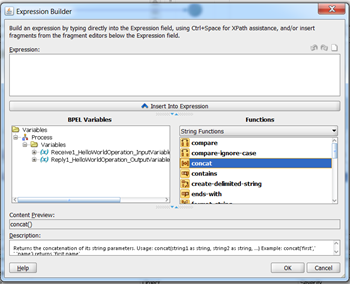
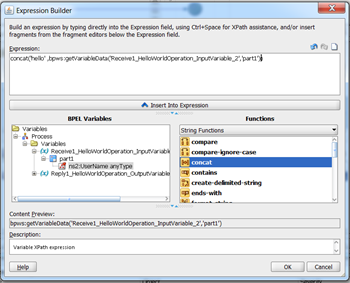
Double click on assign activity and create an expression concat “Hello” with input user name by using expression builder.
