

JDeveloper is a IDE/Tool used to build components in Oracle technology frameworks like OAF, ADF, SOA and MAF. While installing JDeveloper it is important to know the version that can build the component specific to the framework under consideration. In this post I am considering JDeveloper 11.1.1.6 that can be used for building SOA and ADF components. To install JDeveloper 11.1.1.6 it is required to have JDK 1.7. Therefore make sure that you have JDK1.7 before to performing the task discussed in this post. To install JDK1.7 you can refer to Install JDK
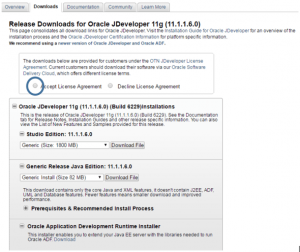
Download JDeveloper 11.1.1.6 install file from location http://www.oracle.com/technetwork/developer-tools/jdev/downloads/jdeveloper11116-1377208.html. While downloading the installable, consider the generic version.
To install JDeveloper, run the install file jdevstudio11116install.jar. This will open up the installation wizard. Click Next on the welcome page.

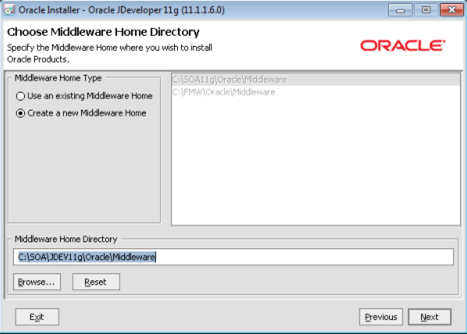
Select “Create a new Middleware Home” option, and provide destination path, and click Next.
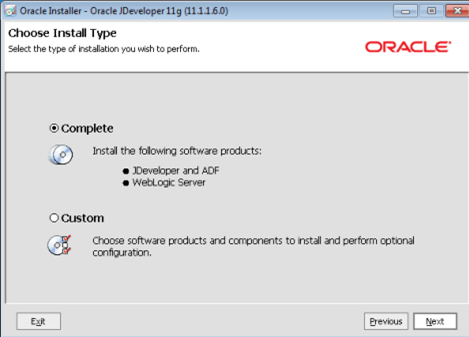
Click Next on “Choose Install Type page.”
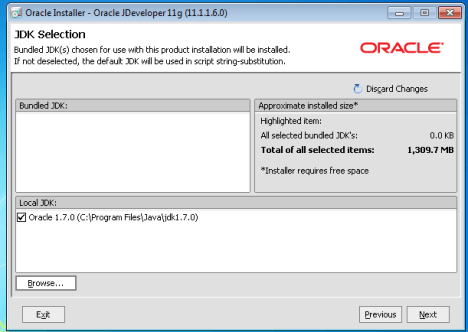
Click on Browse button and select the location of JDK that was installed in the previous step. Click Next.
Click Next on Confirmation page.
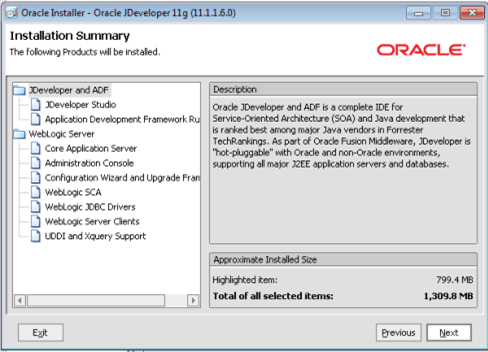
Click Next on the Summary page.
Installation starts and progress is indicated.

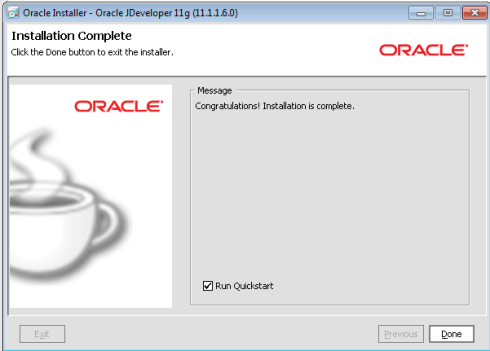
After installation, on the confirmation page, optionally uncheck Run Quickstart and click Done.
Navigate to {middleware home folder}\JDdeveloper\jdev\bin and run jdevW.exe or jdev64W.exe depending on the operating system. The JDeveloper opens and you will be asked to select a Role. Just accept the defautl value and click Ok.

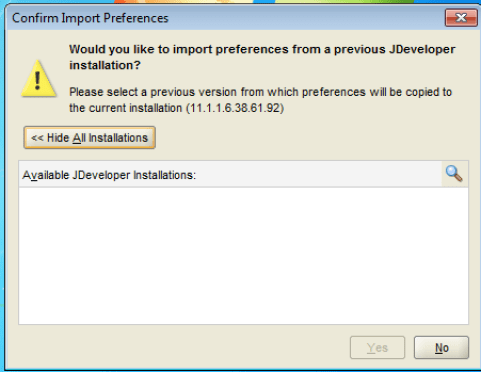
Click No, on the “Confirm Import Preferences” window.
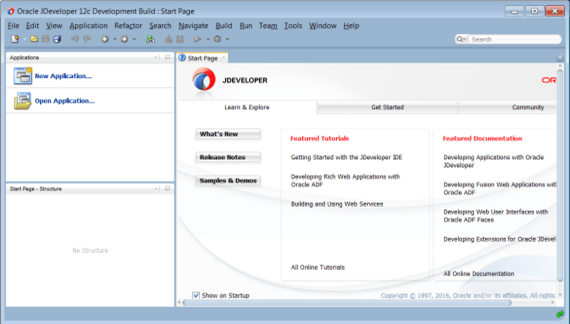
This will open up the JDeveloper. Click OK on popups.
With thanks! Valuable information!
good stuff. I will make sure to bookmark your blog.