

A sequential train step process is useful in transactions that involve multiple entities. A classic example is applicant registration process in job sites, which involved personal details page, skill set page, educational qualifications, etc..
A train step process can be created in OAF by following below steps.
1. Create all the pages that are to be displayed in the train. A sample page is shown below.

2. Create a page button bar.
3. Add navigation bar to the pageButtonBar. Add buttons like Cancel, Submit,.. etc.

4. To this navigation bar add the pages created in step1.

5. Create a train.

6. Add the pages created in step1 to it.

7. Insert the train bar in all the pages.

8. Insert the pageButtonBar in all the pages.

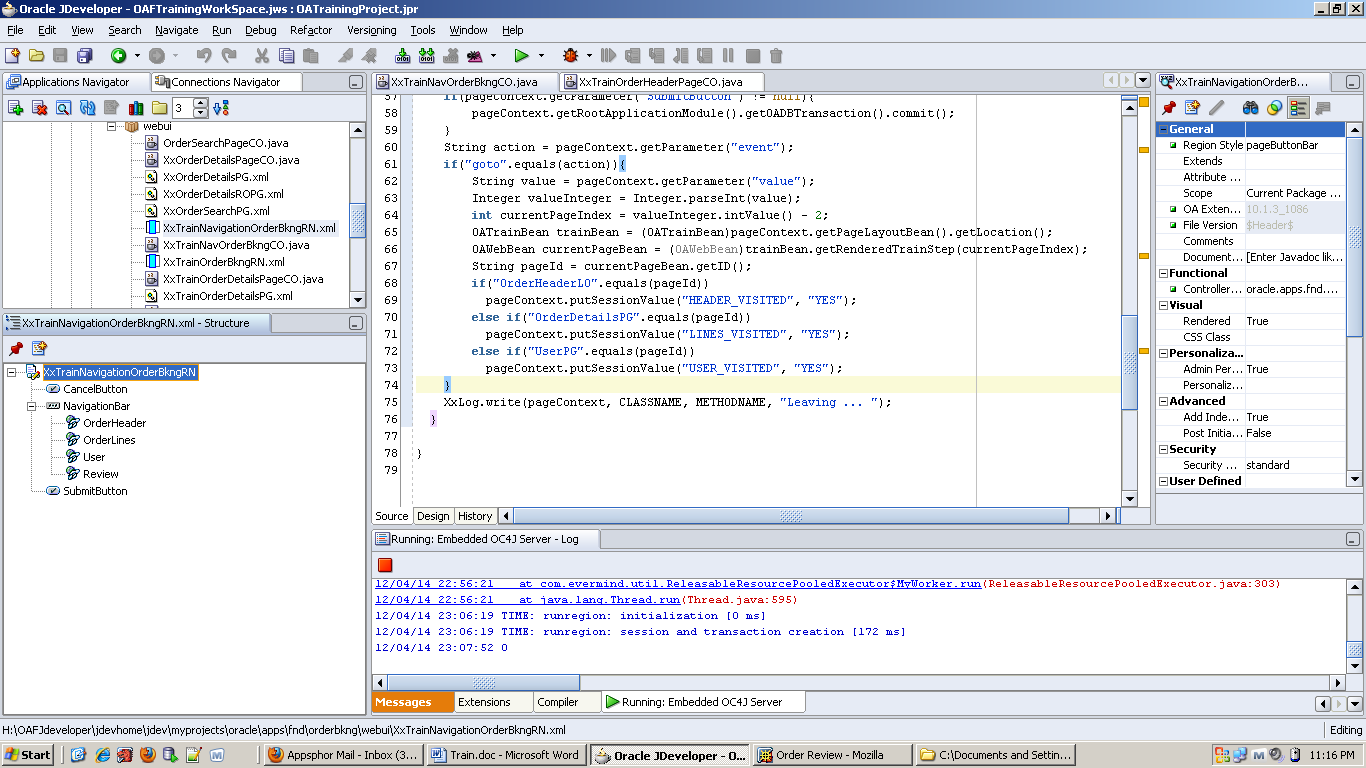
9. Code the controller of each page to handle Cancel and Submit buttons.
10. As an example we have created a train for creation of Order. Following is the first page of train that displays the Order Header.

11. Following is the second page of the train

12. Following is the third page of the train

13. Following is the final review page where user can submit the transaction.

The following sequence of text and images shows how the extended train changes as users move forward and back through an 11-step process.
I’ll immediately grab your rss as I can’t find your e-mail subscription link or newsletter service. Do you have any? Please let me know in order that I could subscribe. Thanks.
After study a number of of the blog posts in your website now, and I actually like your means of blogging. I bookmarked it to my bookmark web site list and shall be checking again soon. Pls check out my website as properly and let me know what you think.
Hello. impressive job. I did not anticipate this.
With thanks! Valuable information!
I like the helpful info you provide in your articles. I will bookmark your weblog and check again here regularly.
It?s hard to come by knowledgeable people on this subject, however, you
I’m quite certain I’ll learn lots of new stuff right
What’s up, after reading this awesome piece
I like the helpful info you provide in your articles. I will bookmark your weblog and check again here regularly.
I like the helpful info you provide in your articles. I will bookmark your weblog and check again here regularly.
I conceive this web site has got some real good information for everyone
With thanks! Valuable information!